2001 EVA Pod Build Part 2
Getting Ready:
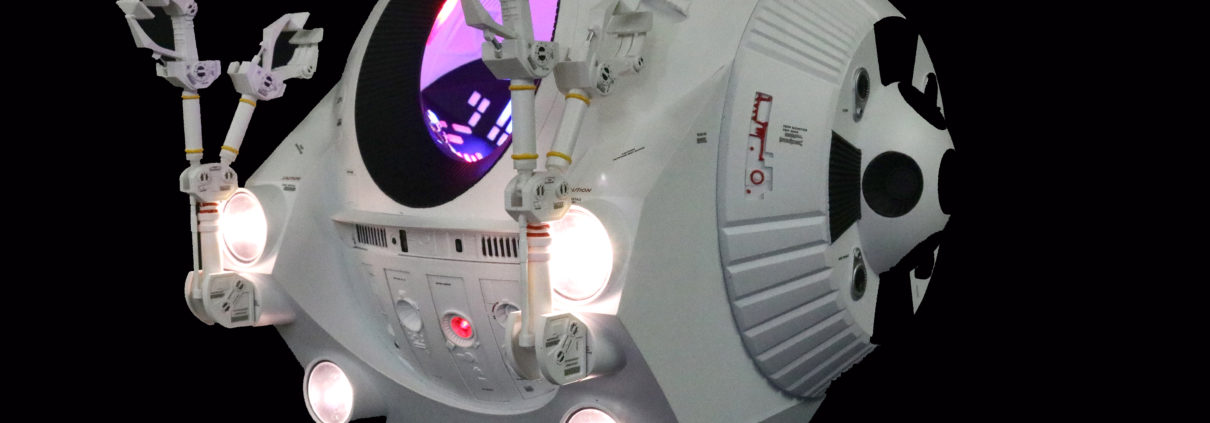
Headlights & Hal 9000: After you have fit the interior in the back half of the shell you’re getting ready to close up the front section of the model. There are two main areas that need to be set up for lighting.

The front head lights or search lights consist of 4 light buckets. These light buckets will require a small 3mm holes drilled through the center of the back of the bucket shell. The ones I used in the test build where body white but the production kits come chrome plated, so with this said It might be better to drill the from the inside of the shell to avoid chipping of the chrome plated finish. Once you have a pre drilled the buckets you’re ready for mounting the leds in place, it is very important that you center the led as close to center of the bucket to avoid the google eye effect.


Hal 9000 Light: The Hal 9000 light is very straight forward but I must point out a few things to keep in mind. In the kit there is a small red diffused led, it is very important that you use the 2-K resistor in the kit, this will make the light look dim. If you don’t have the Yaymonsters add on kit, you will need to cut a thin piece of styrene to back the led. The styrene will need to be painted black for light blocking & screen accuracy as well. Another thing to keep in mind before mounting the led is to get it dead center of the Hal 9000 bay, if it is set off to one side or another it will look very bad on the finished model build. Again test all lighting before closing any main sections.


In Closing Notes: I cant stress the amazing quality & craftmanship that went into the design of this model kit. As always if there is more detailed questions regarding the lighting & build of this model its best to contact me via phone call direct. Long emails back & forth never seem to work, so its best to drop me a call. Thanks for all your support of VoodooFX / Randy Neubert.


