Saturn V Engine Effect
Getting Ready:
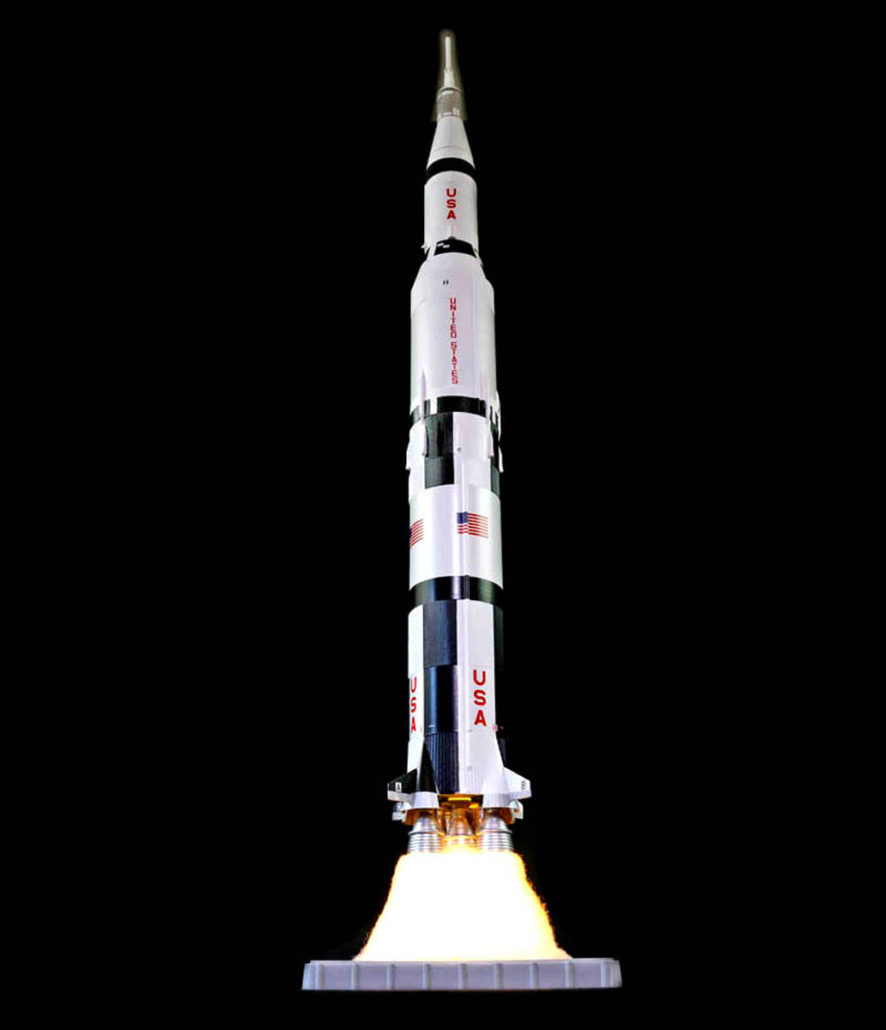
Welcome to the Saturn V engine lighting and effects blog, where I’ll be discussing the electronics & general fit instructions in this build.
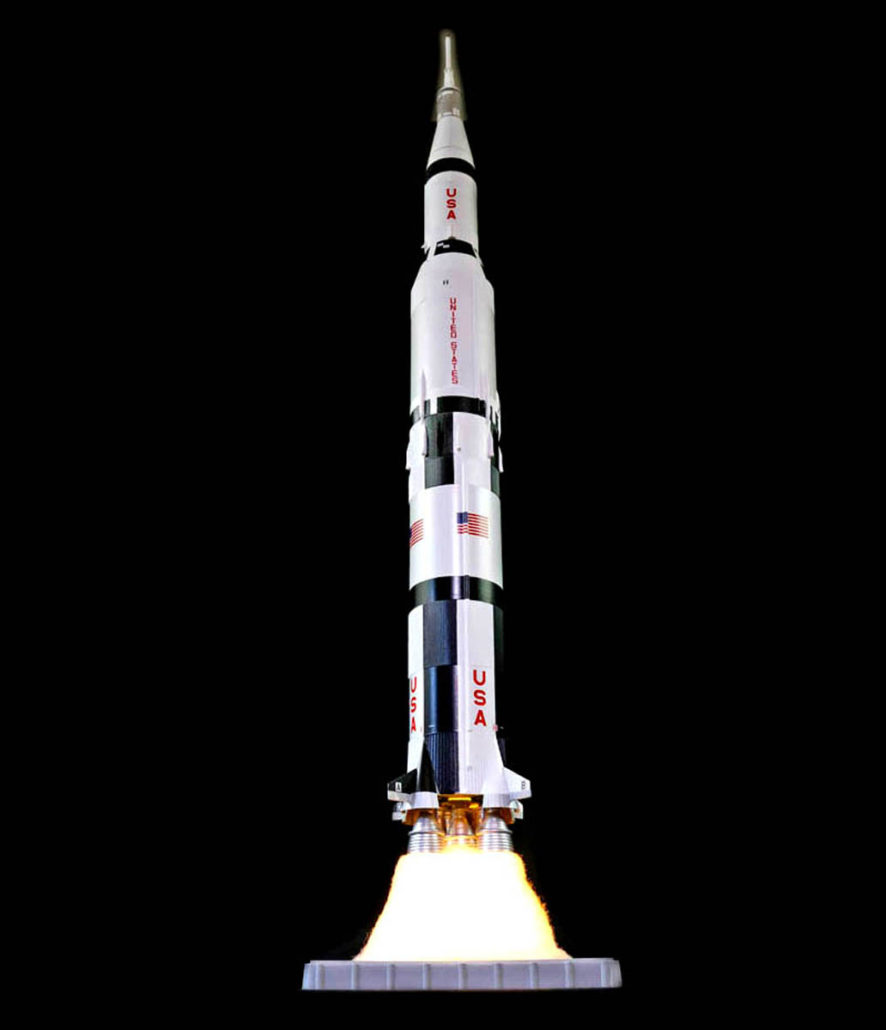
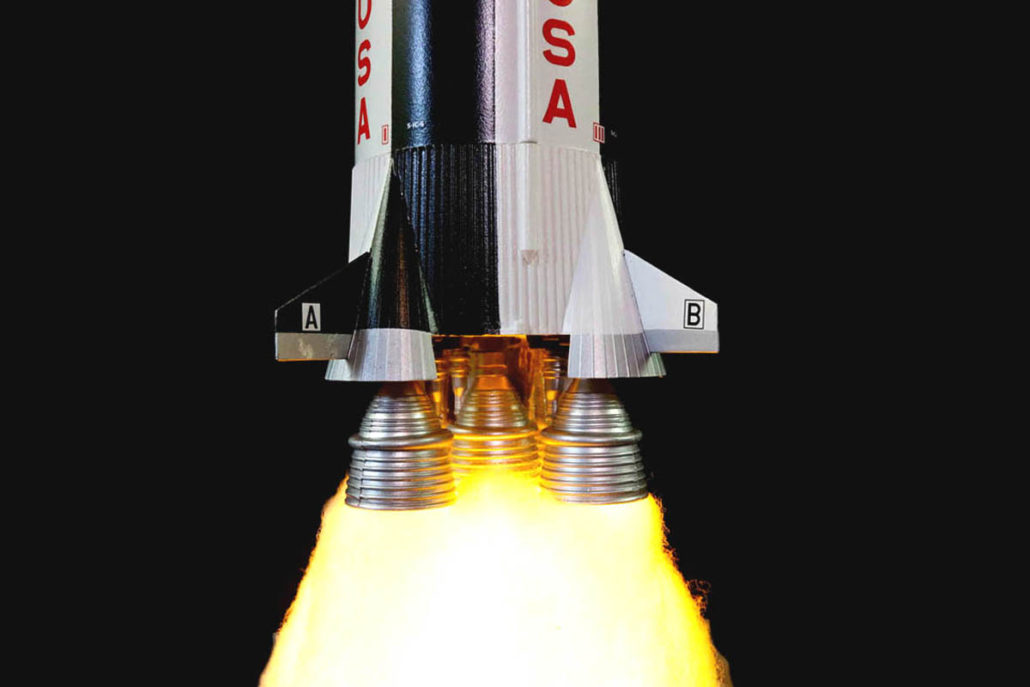
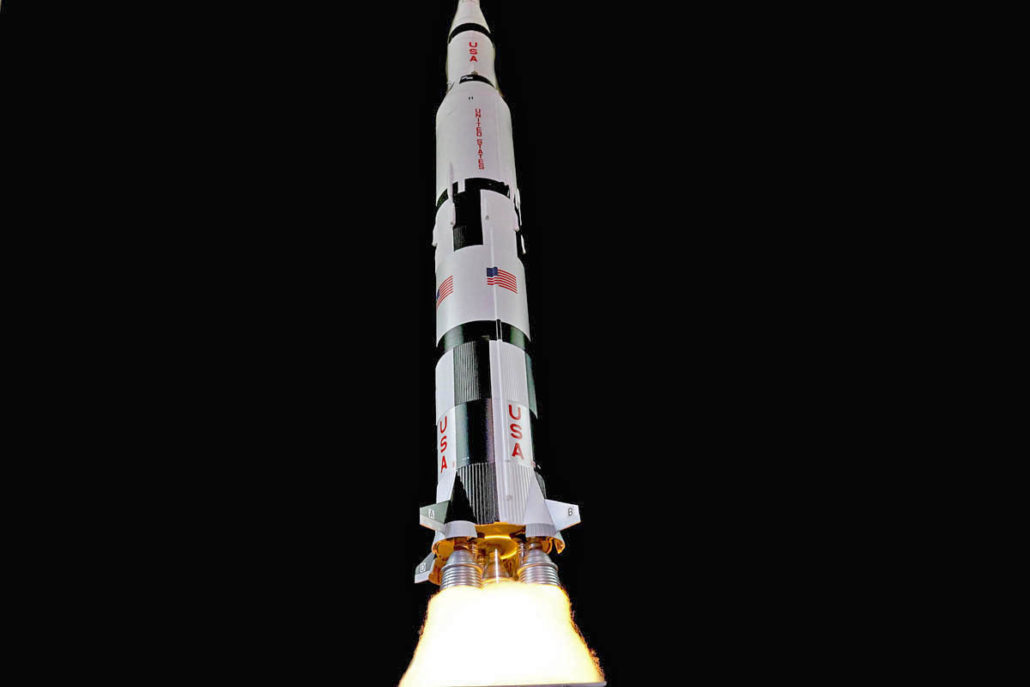
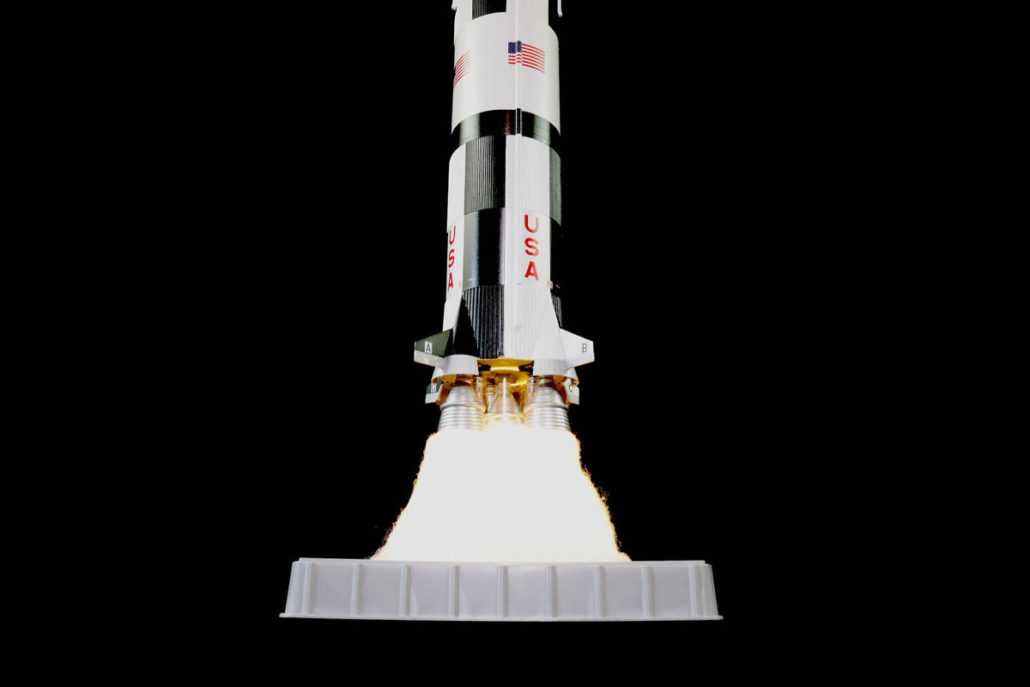
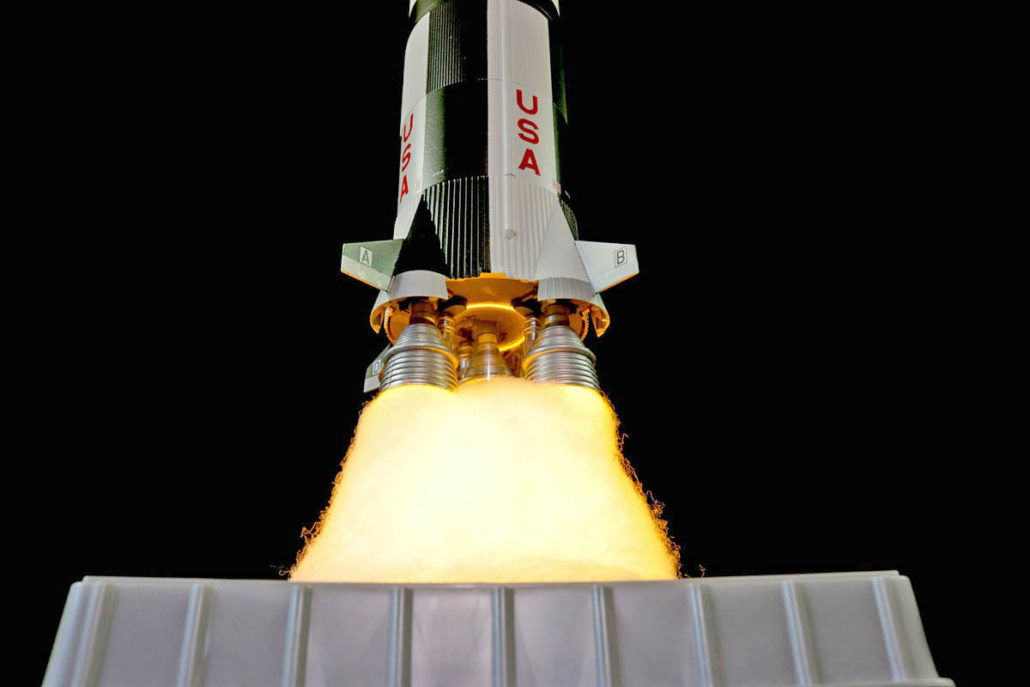
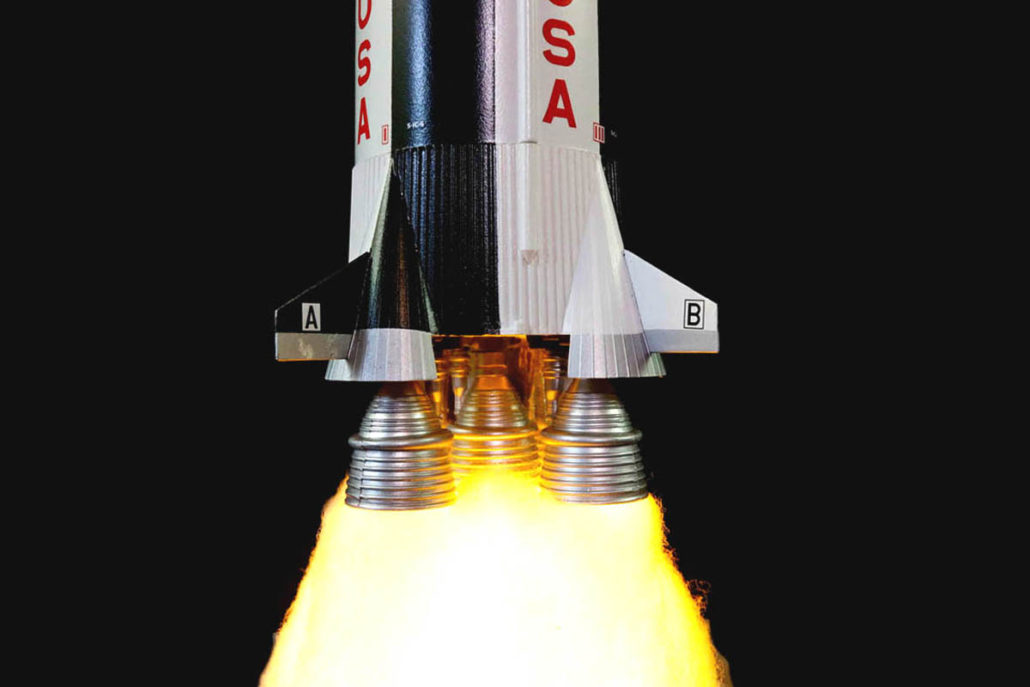
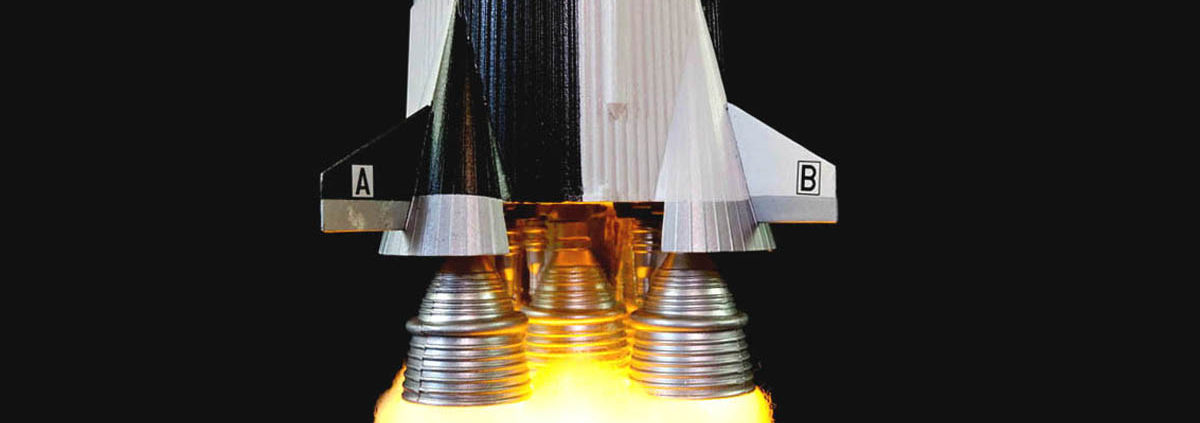
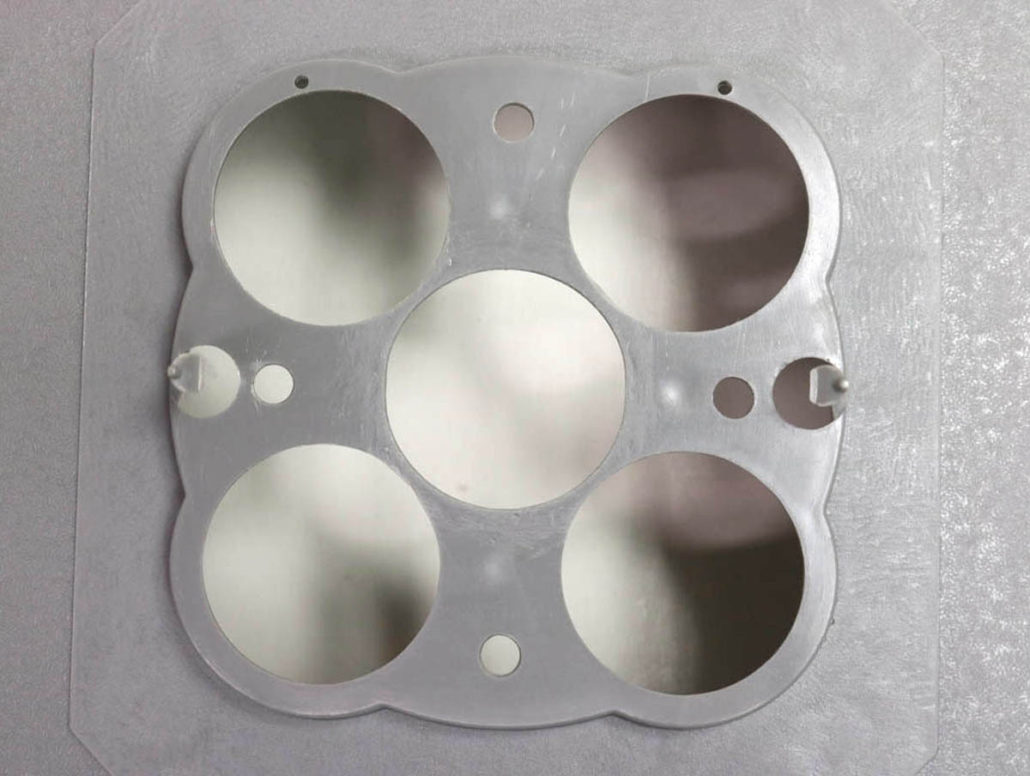
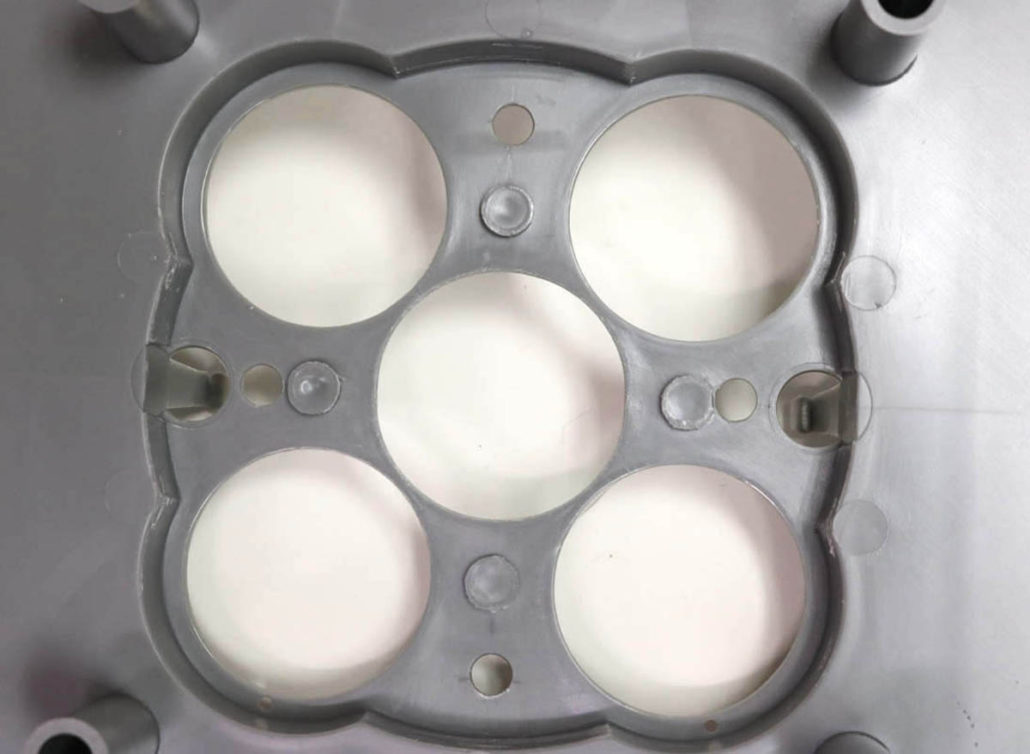
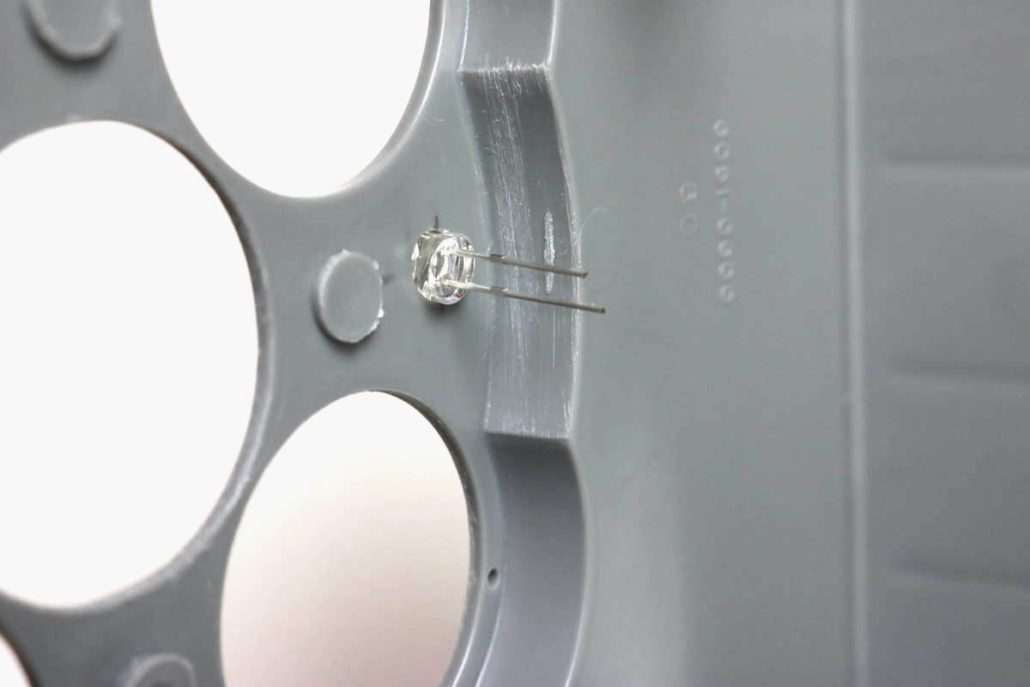
Start by opening the model and get your self familiar with the engine parts & the general structure of the kit. It is generally a good idea to have a plan of action drawn up to keep you on track, and note any lighting that will be added later in build. The main engine bulkhead support will need to be drilled out to accept wire & LED’s fed through the engine bells. There are 4 orange and 1 warm white LED’s dedicated for the engines. I used the 4 orange around the perimeter & the 1 warm white in the center to give more punch.
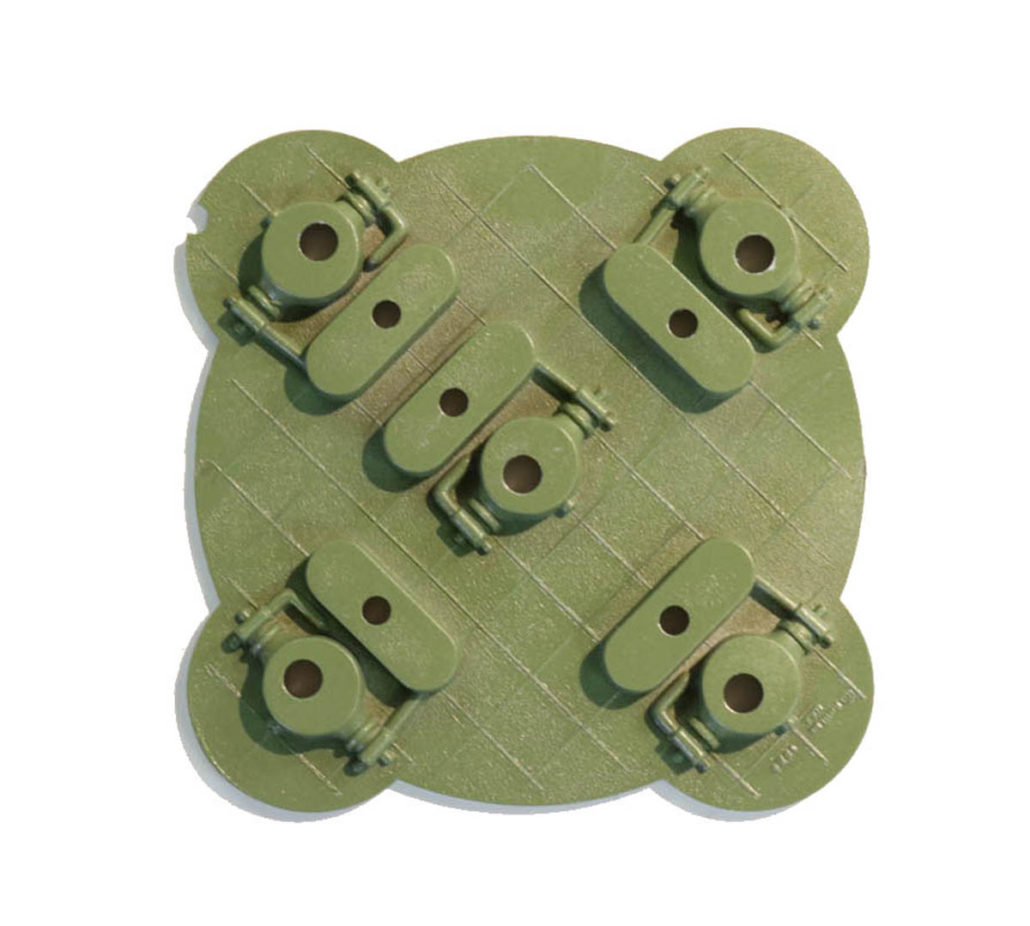
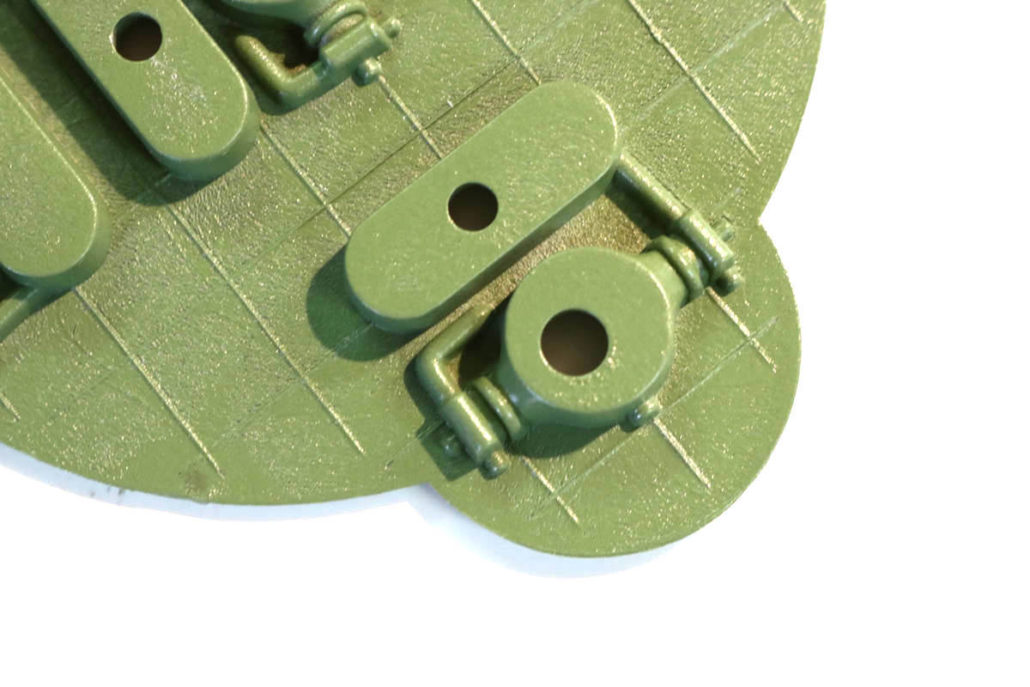
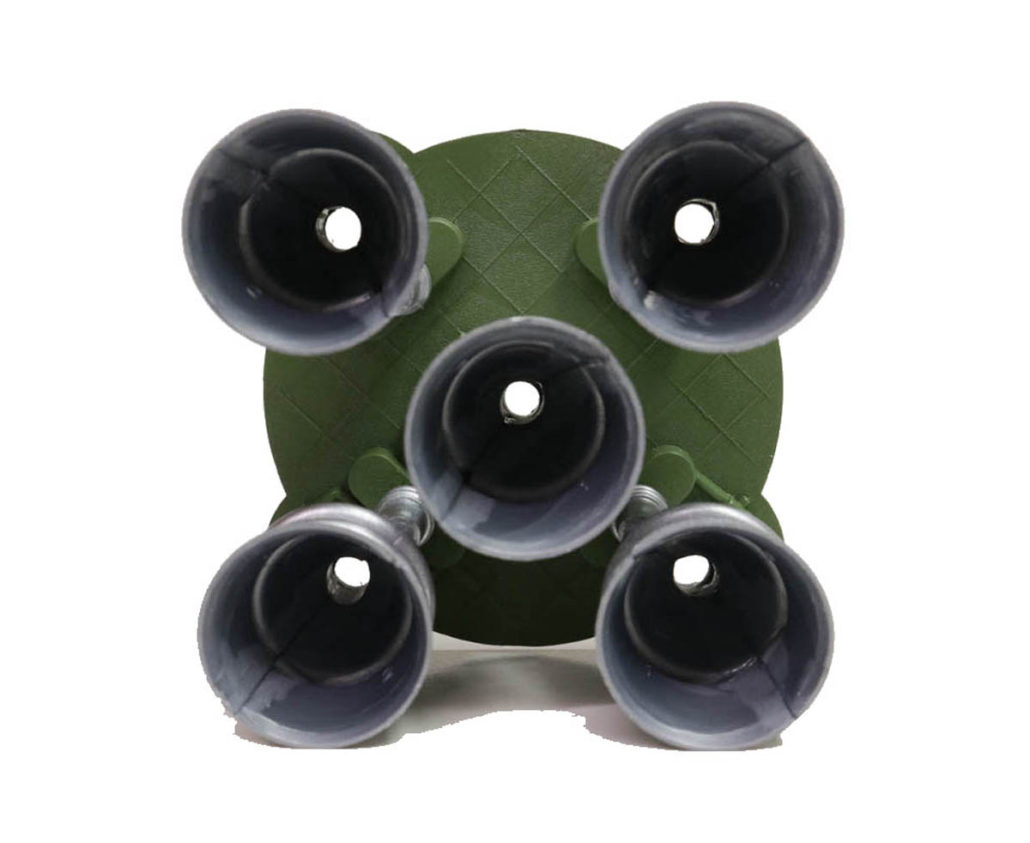
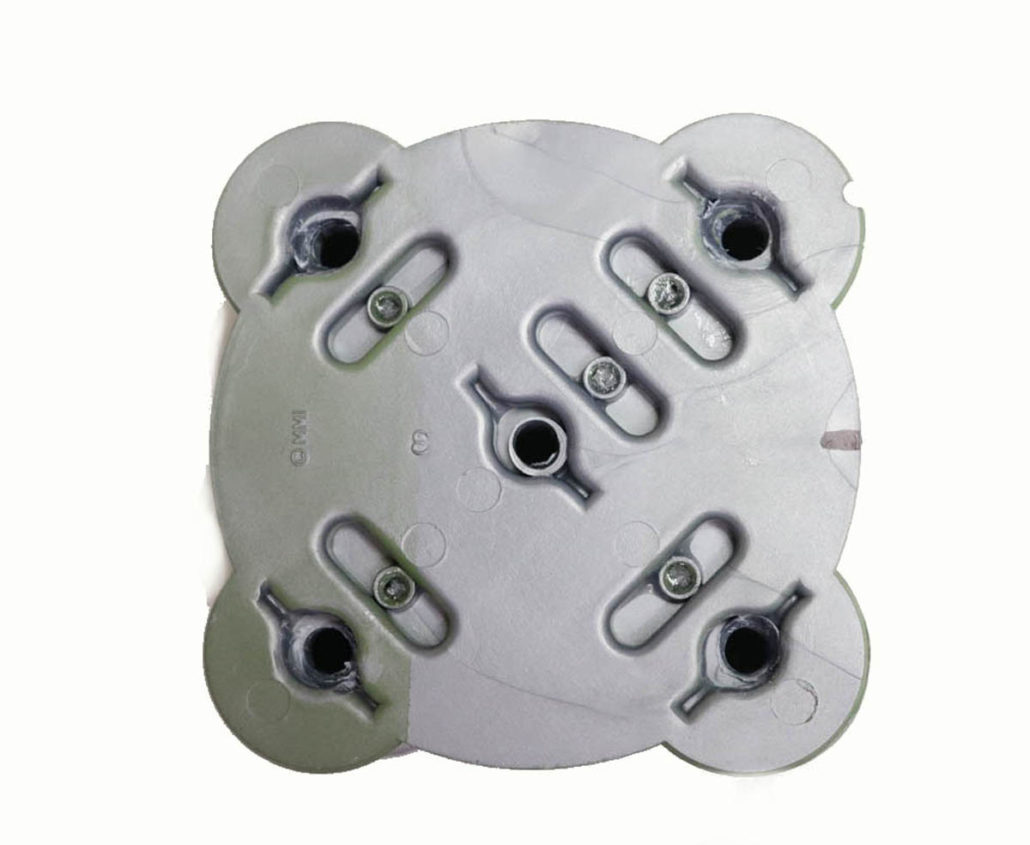
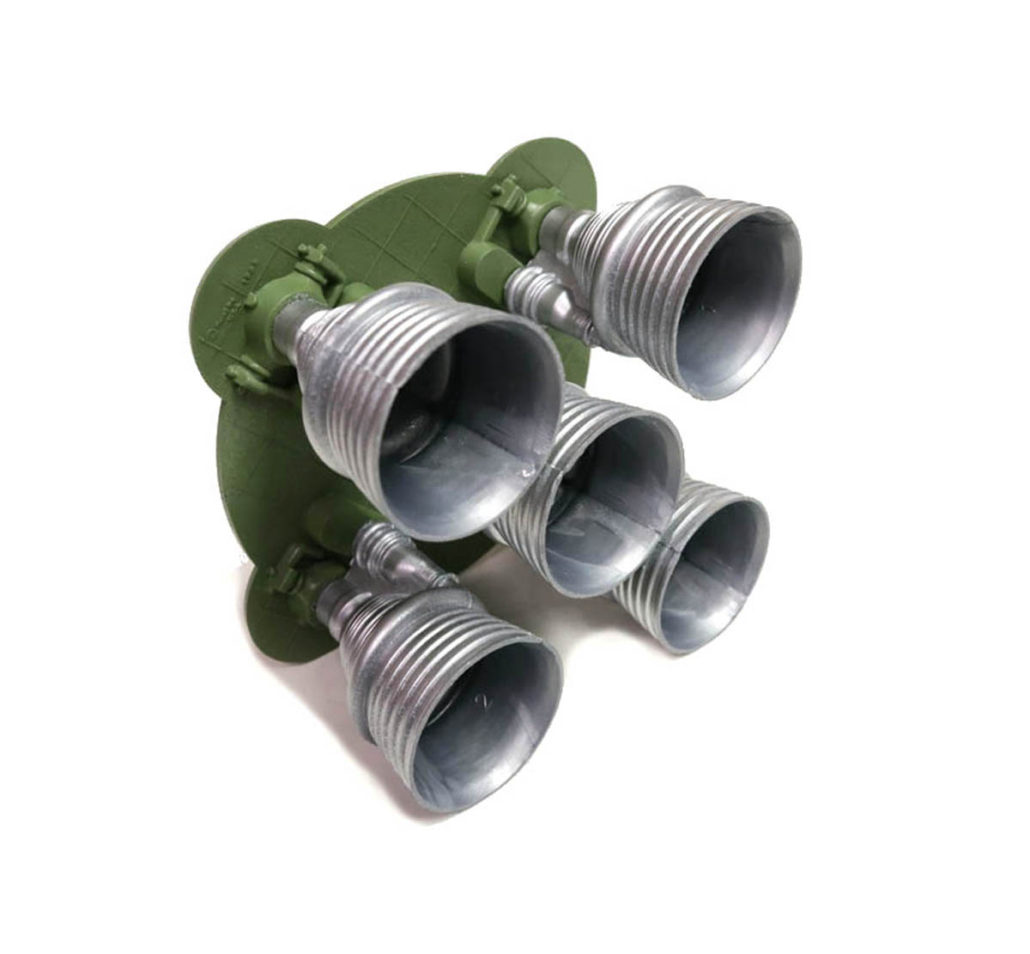
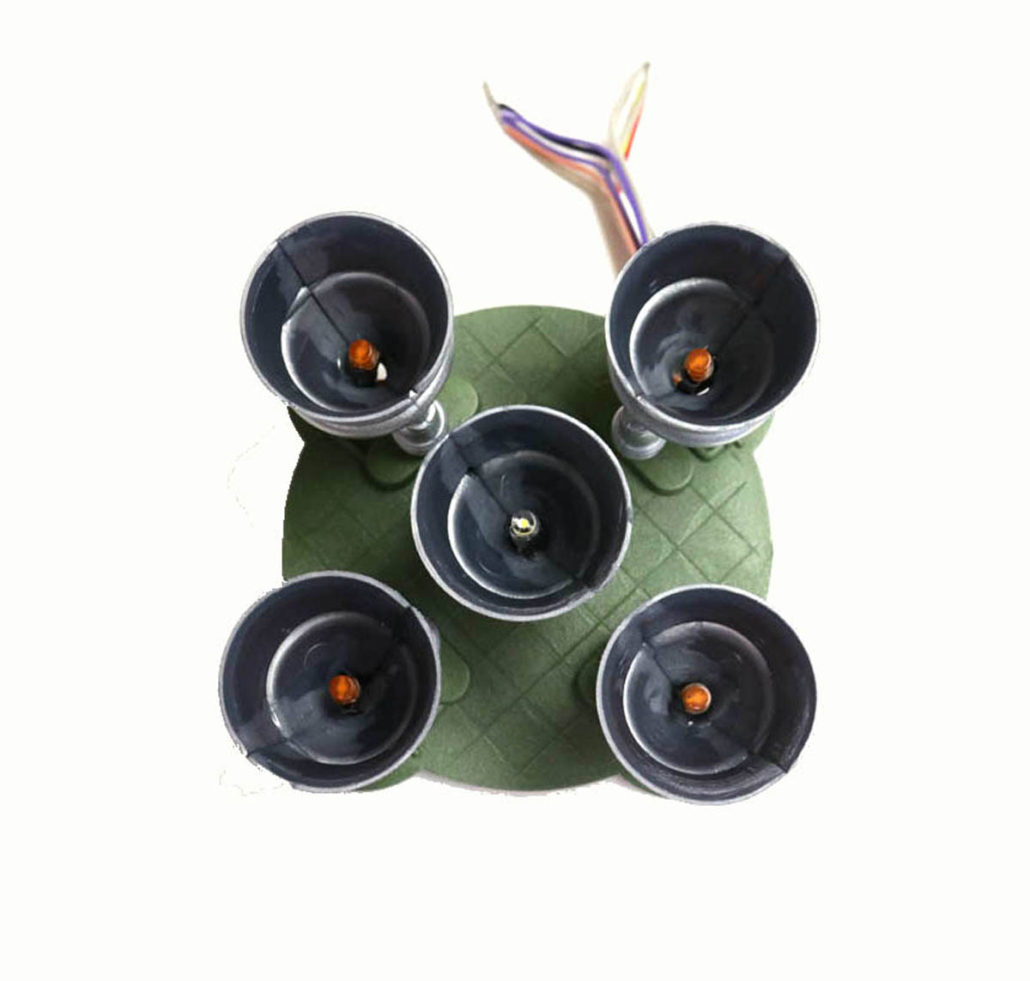
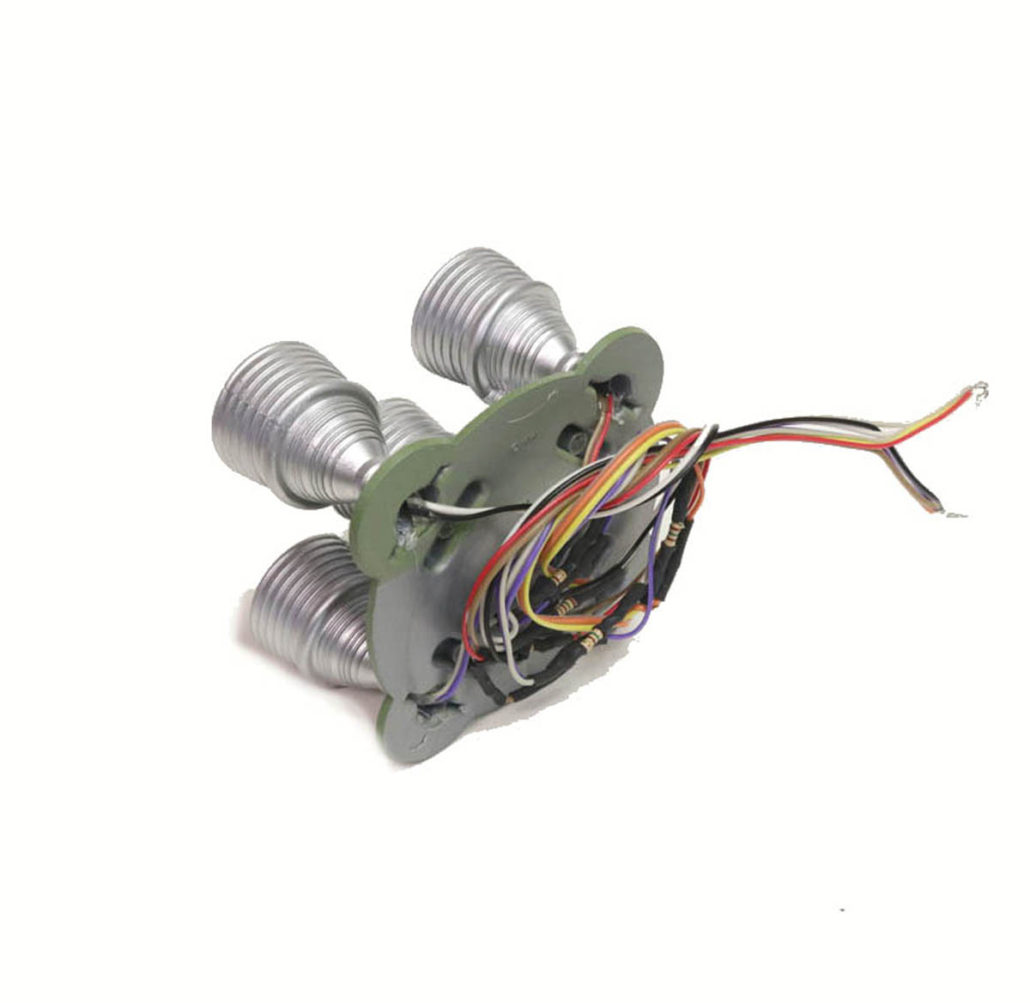
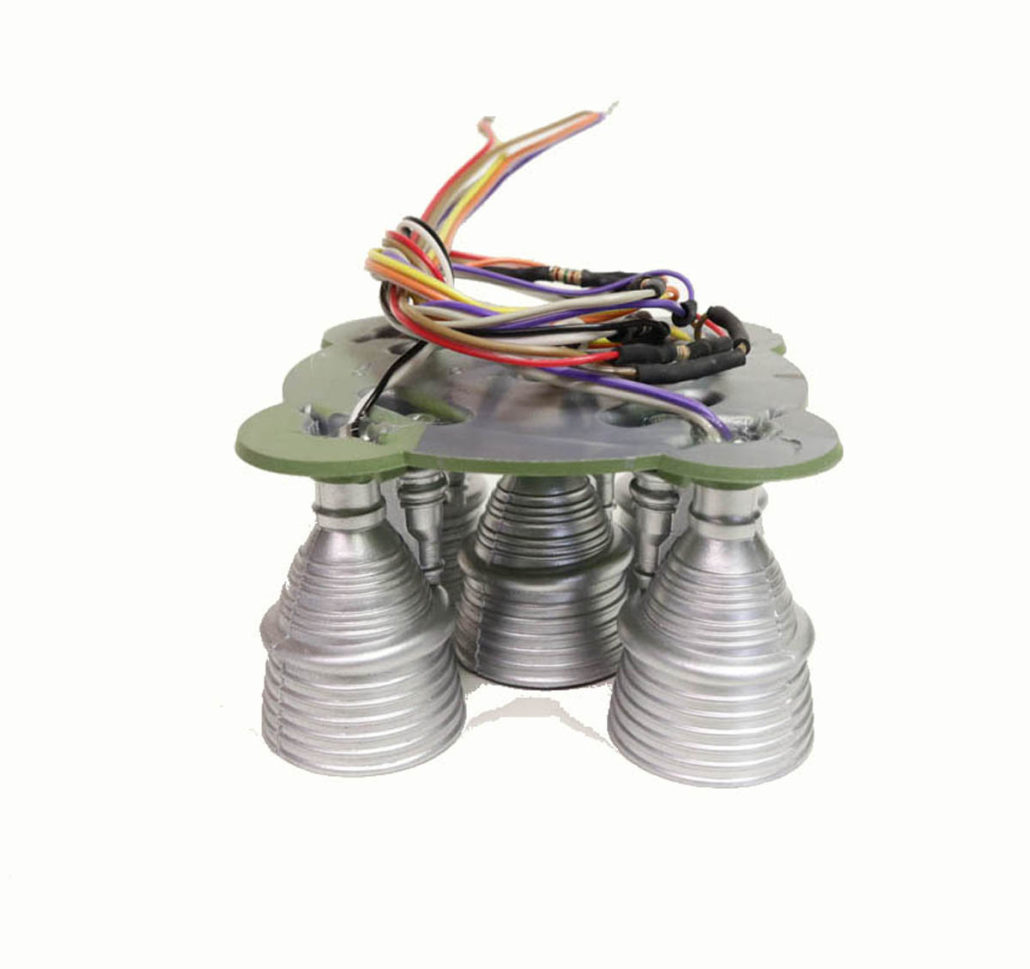

Regardless of what kit you’re using, the animated version is wired the same way as the static version. Both setups use a common technique which utilizes a film resistor to protect the LED from voltage damage. How this is done is by connecting an inline resistor on the positive side of each LED used… you will need to have one resistor for each LED used. All positive wires will come together and be connected to the male power, goes for the ground or negative wires. The animated version works the same but instead the negative leds wires will go to the effects channel coming for the circuit board. The board itself will need direct power.
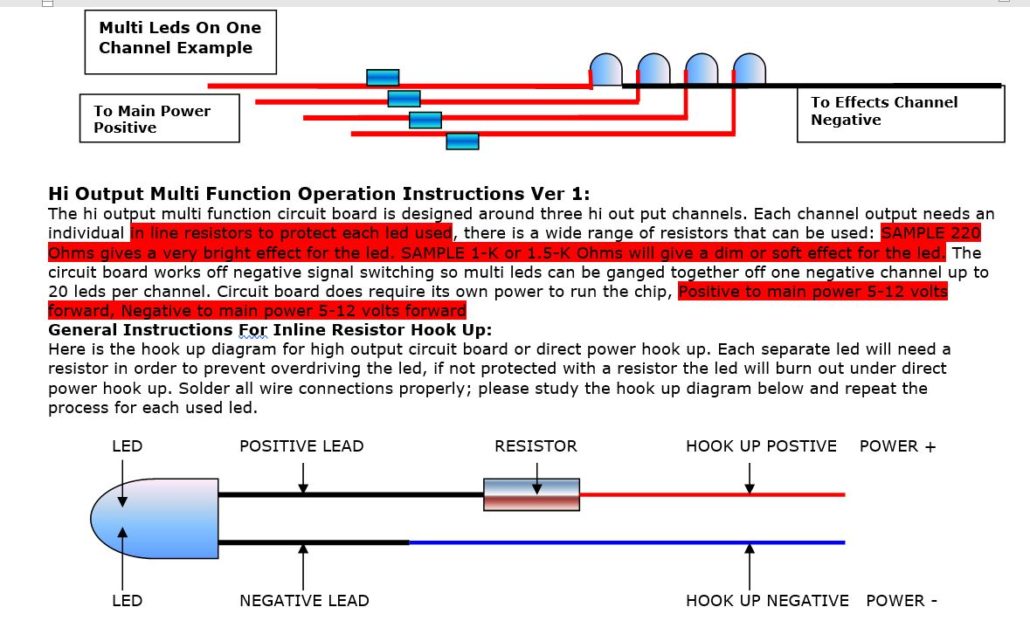
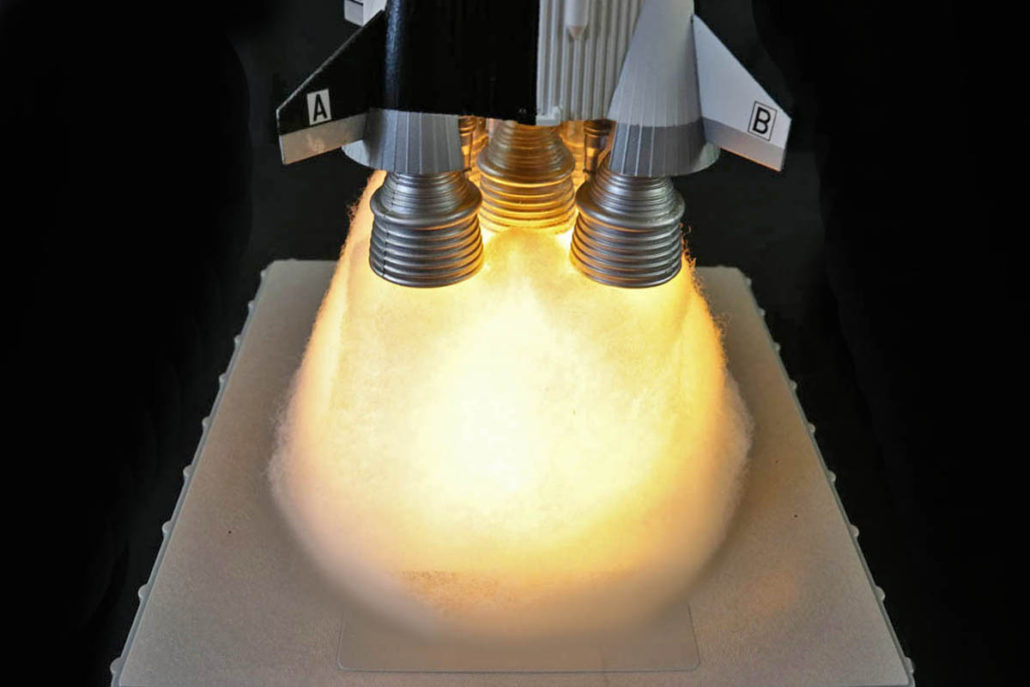
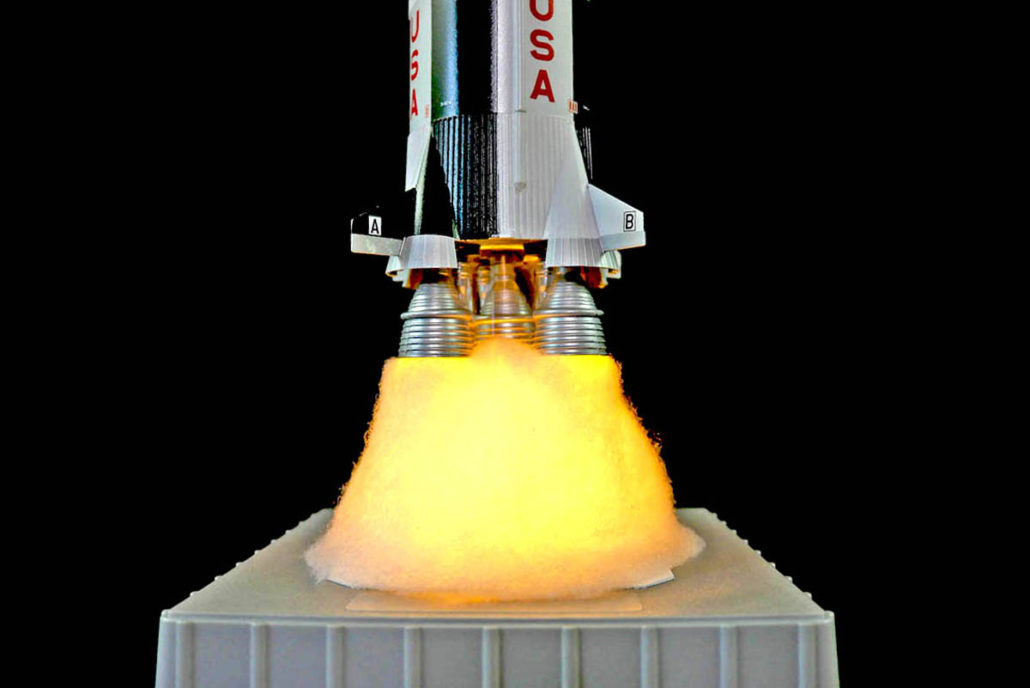
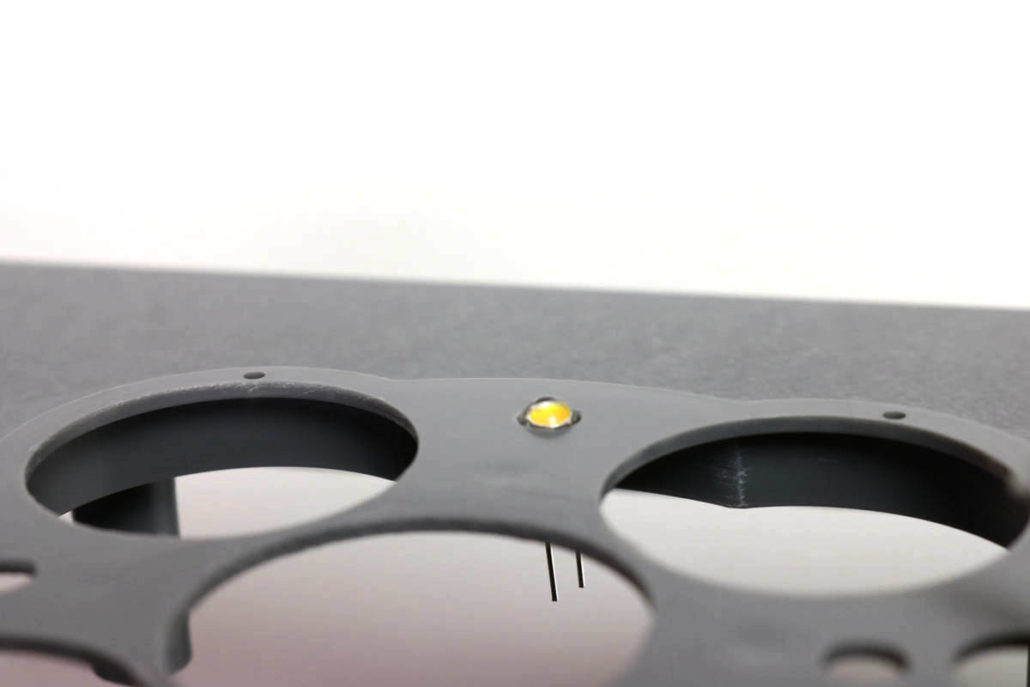
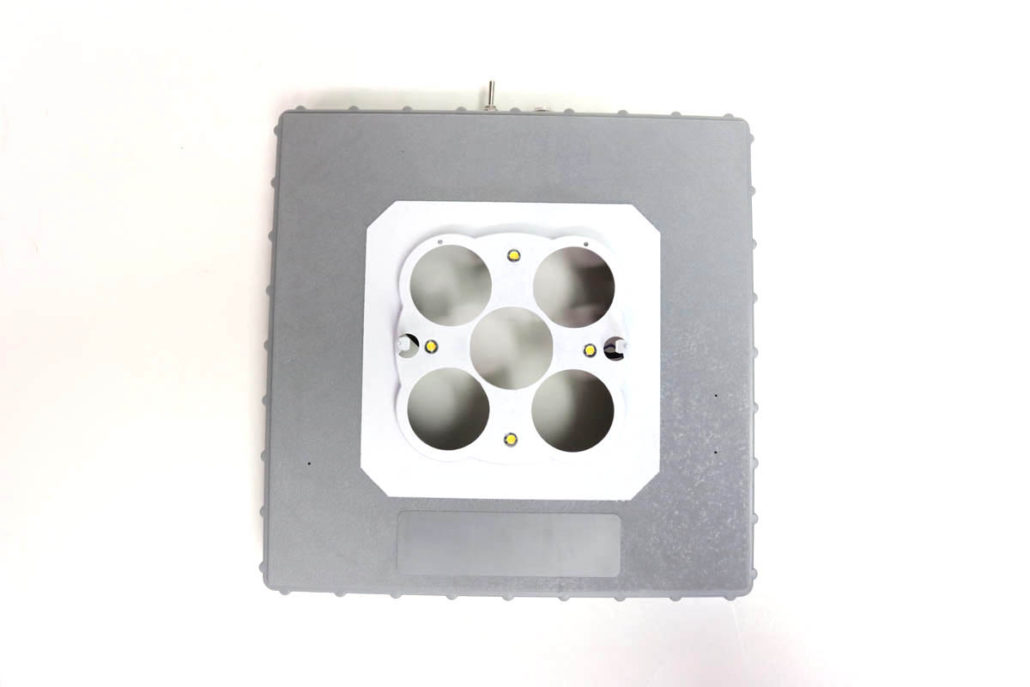
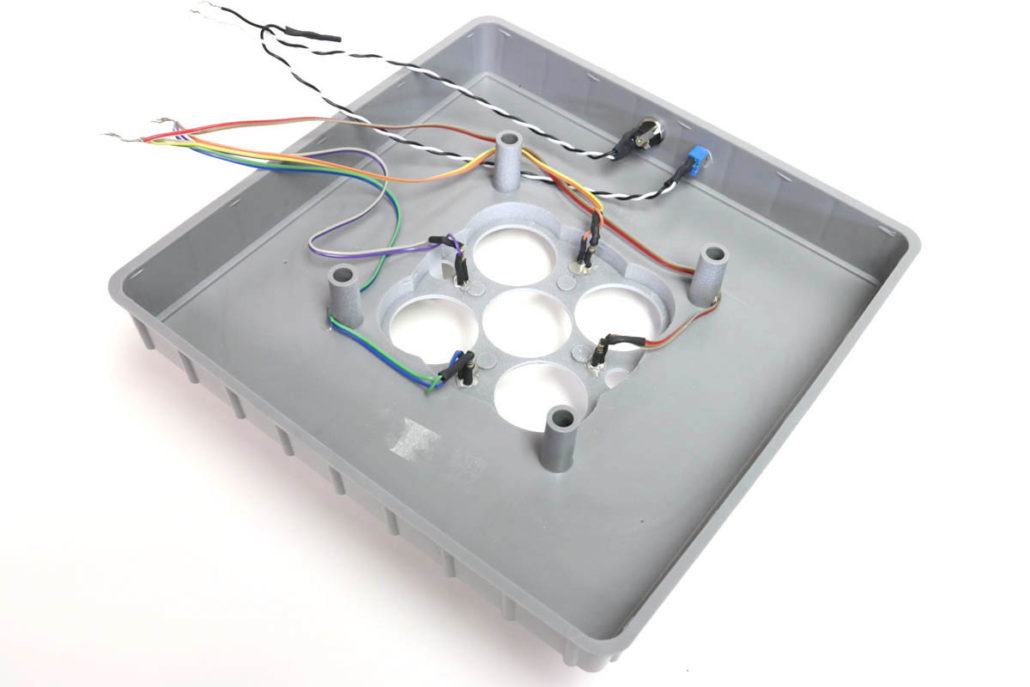
There is also base lights that will need to be drilled out. There are 4 yellow LED’s in the kit, which will be used for the base. I found it best place them midway around the engine exhaust holes, although they can be placed anywhere according to the builder’s preference. After pre building the LED’s with resistors and mounting them in place, I ran a small wire down to the base to power the LEDs. There will be a few sets of wires running from the rocket and the base, which will be hidden with the batting material when finished. I also used a 1 1/4″ clear plastic tube to elevate the rocket for more effect. All the battery & switching is mounted in the base.
Finally, before closing up and mounting the rocket, it is best to test run the lighting effects for a burn period of 6-8 hours (this will insure that the system is operating properly. The batting material can be placed in anyway that looks best for you build up. If you have any questions, please contact us direct with an email or call by phone.
