Deep Sea Lab Project
Getting Ready:
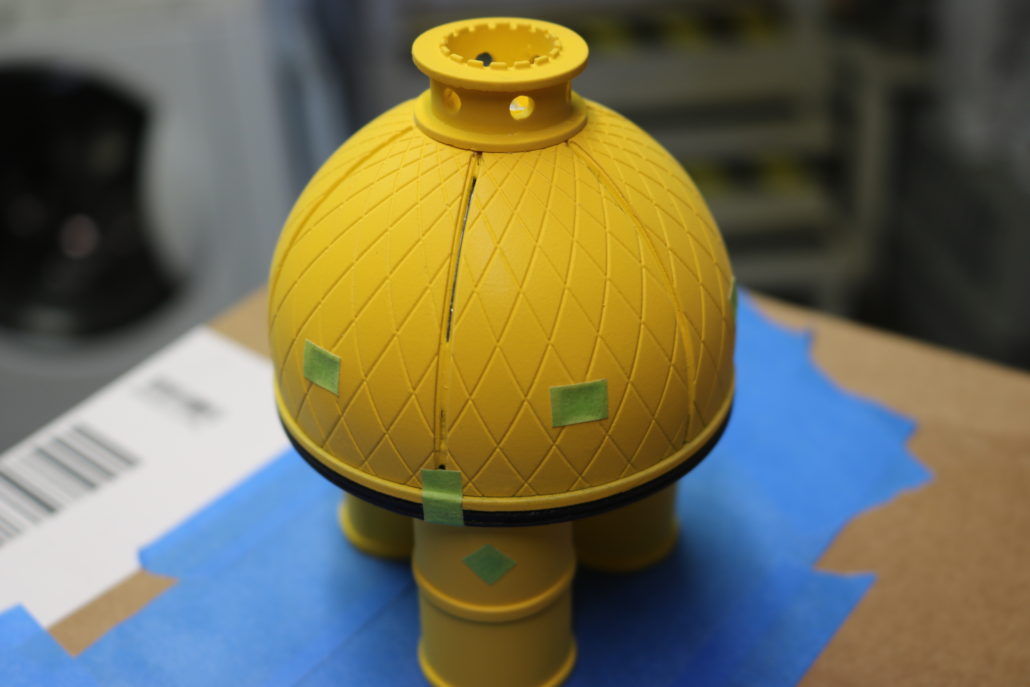
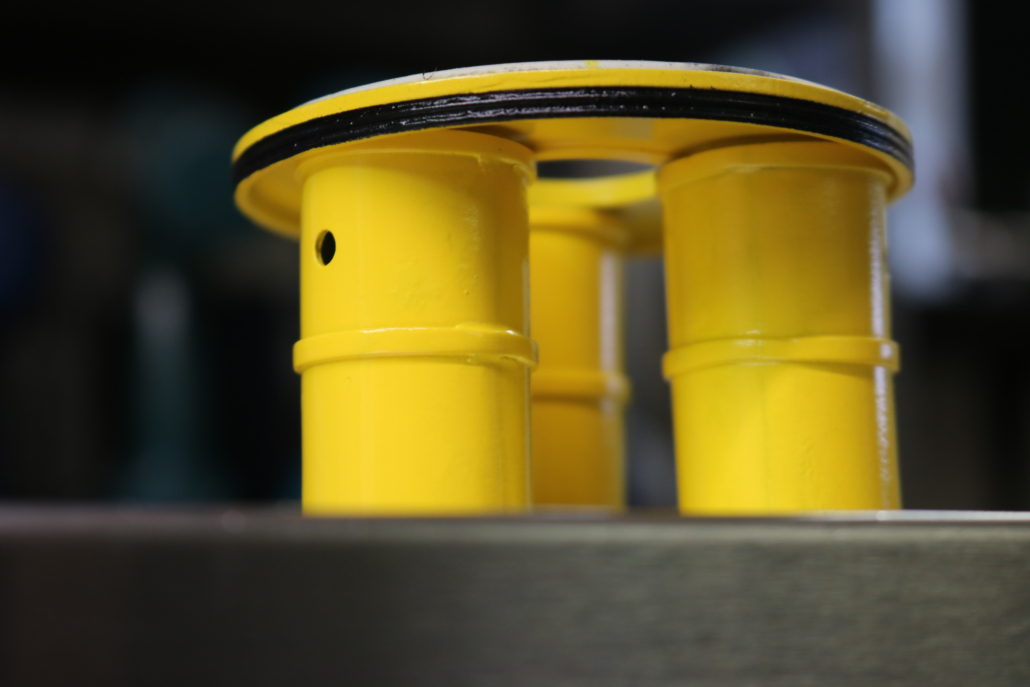
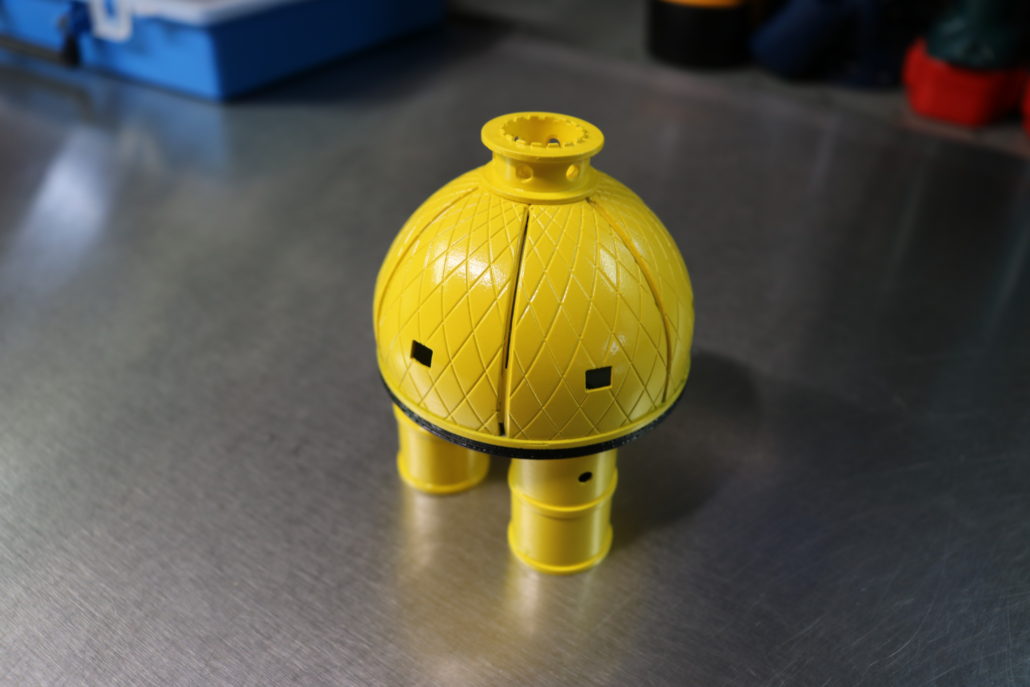
The deep sea lab was a commissioned build up project that started in early 2020. The client wanted to have this as a standalone model supporting it’s own power supply for lighting. When the model kit was delivered, I was blown away at the quality of the kit! Paragrafix did an amazing job with this model – parts went together with very little effort and castings were clean & tight.

Lighting
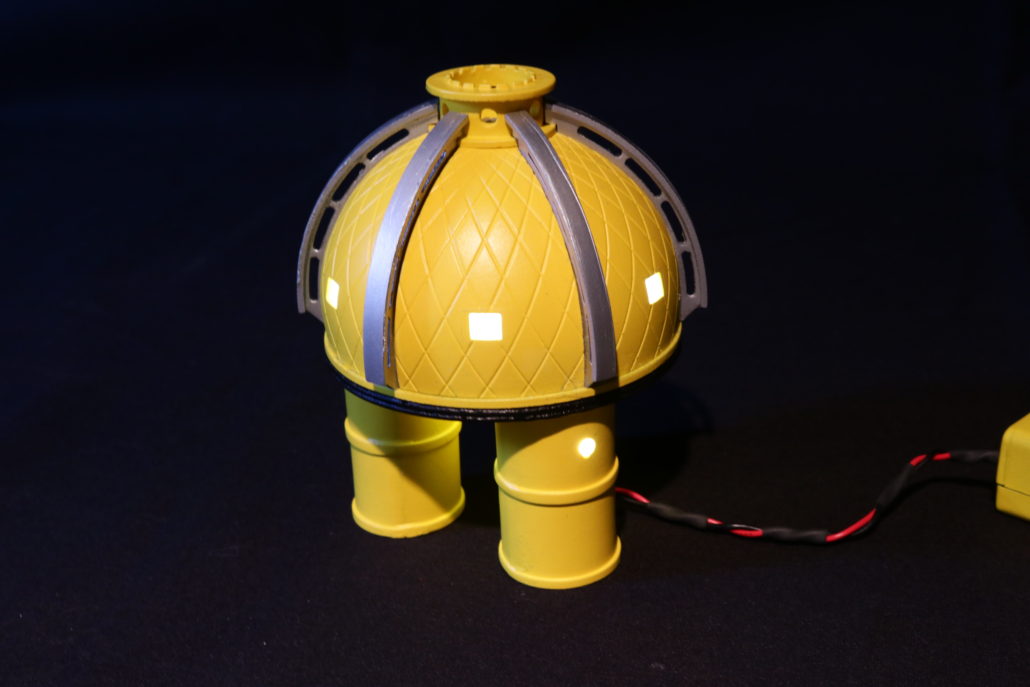
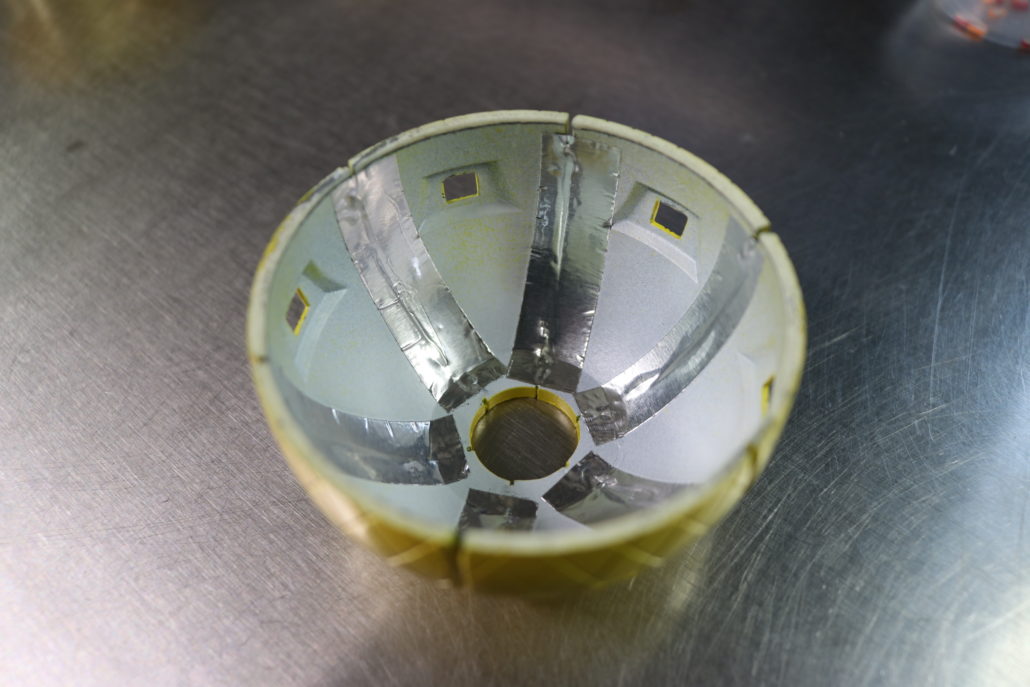
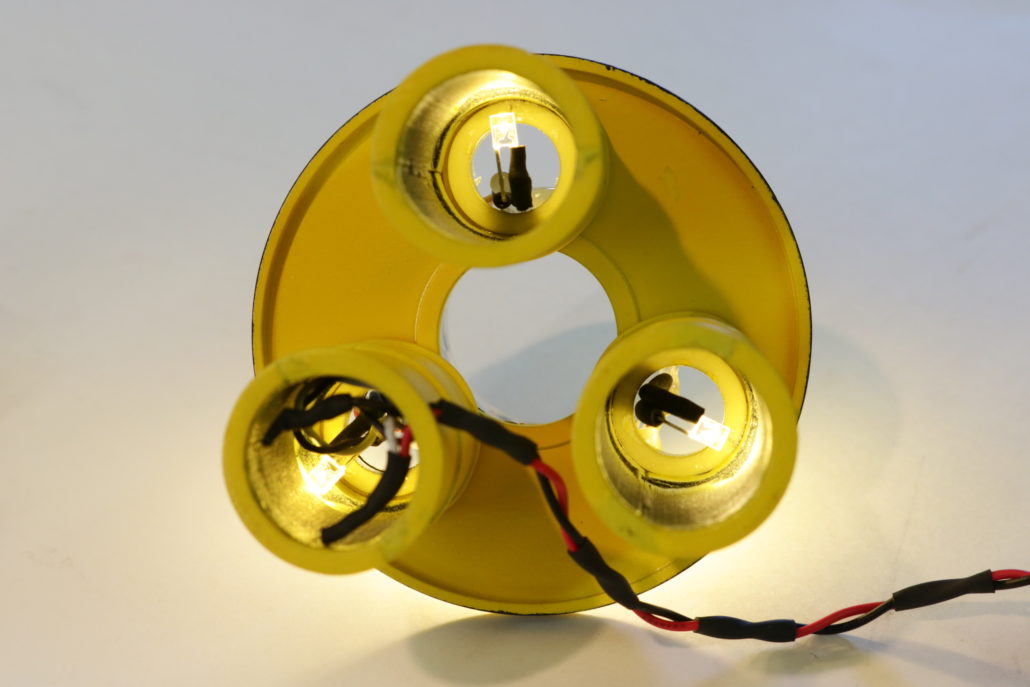
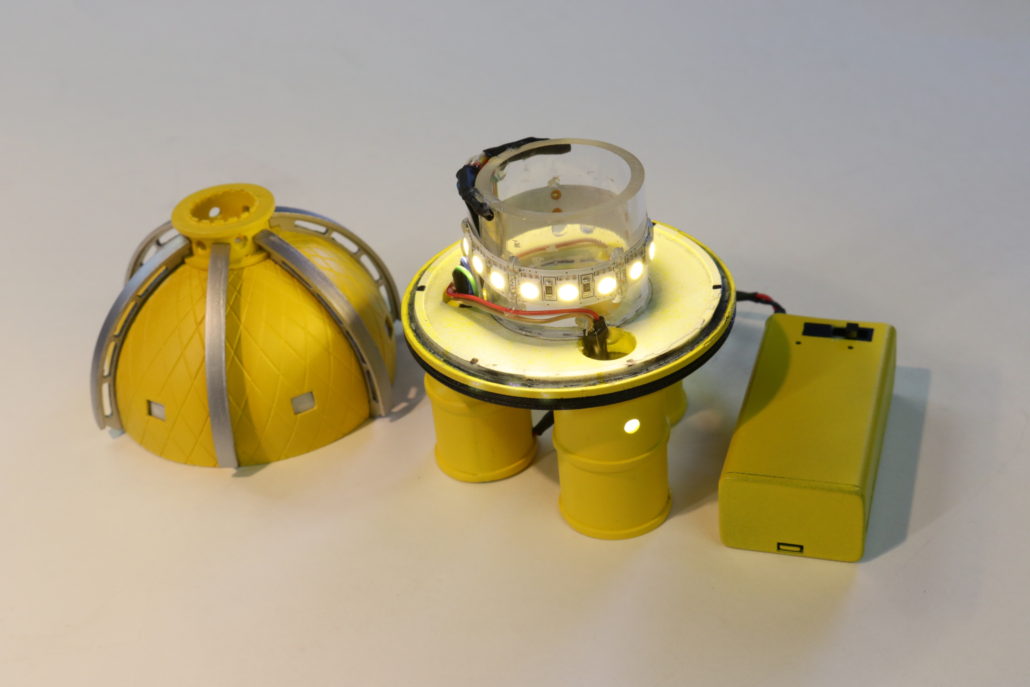
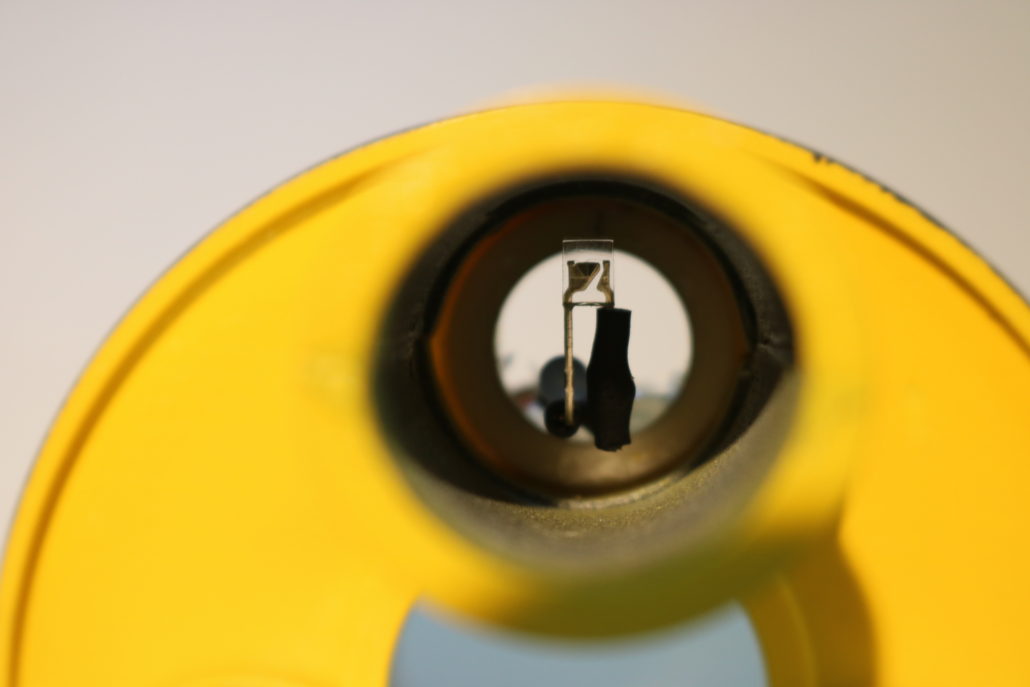
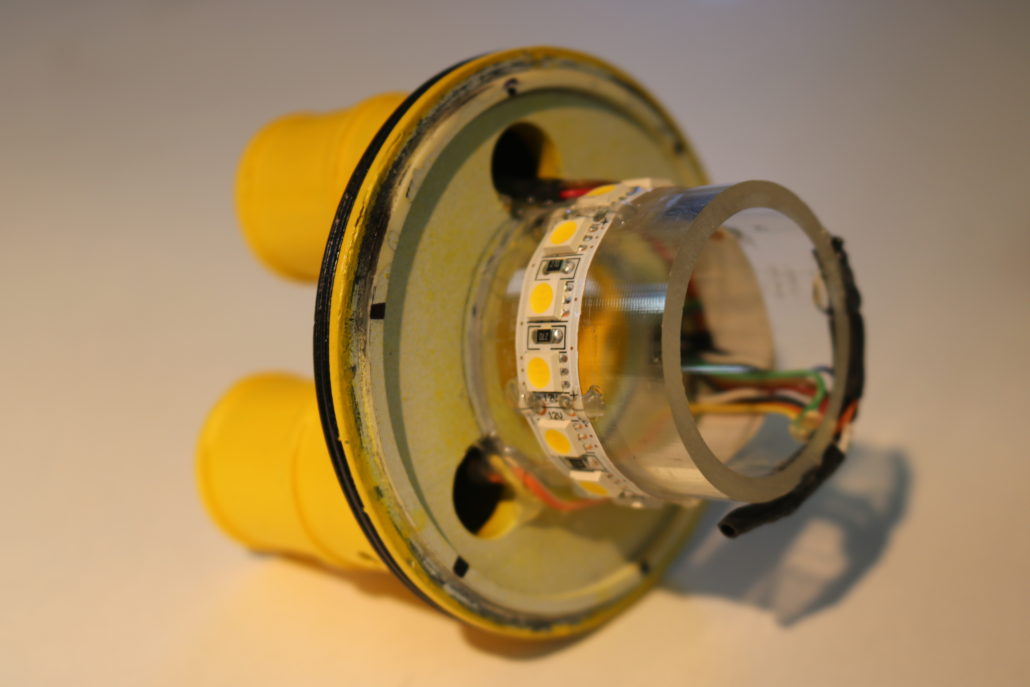
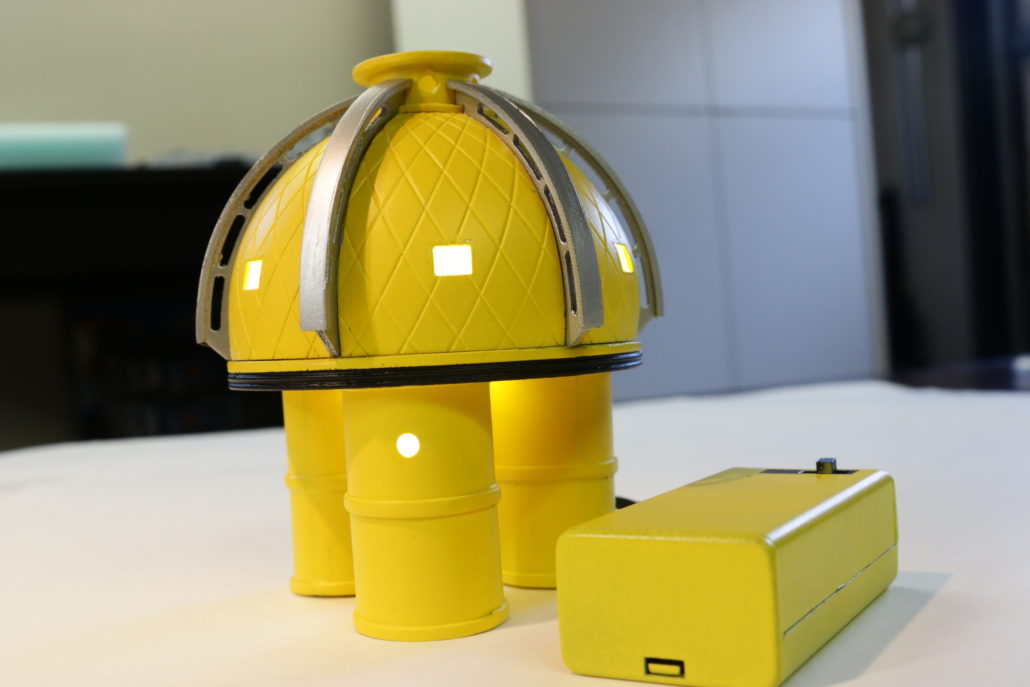
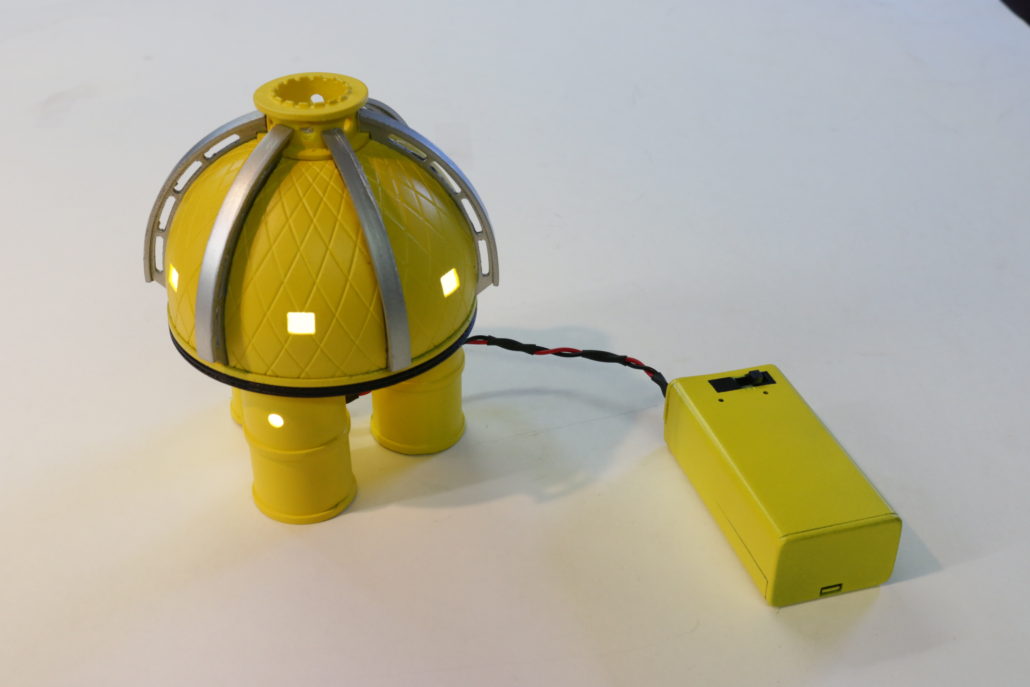
I started by figuring out how I could get the best effect with the least amount of electronics. After running a few tests in the main interior and leg parts, it be came apparent I would need to use two different lights to get the right effect. In the main lab area I used a 1″ 1/4 clear plastic tube cut to fit around the inside ring. I used this tube to mount a section of DD W White 50/50 strip to handle the main lighting. Both the main floor and wall sections needed to be heavily blocked with paint – the three legs needed the same treatment to avoid light ‘leaking’ through at the seam. In the three leg areas, I used 3mm warm white LED’s bent 90 degrees to face inwards at the circle windows. I found that using a 220 ohm resistors in line with LED’s produced enough light to make the leg look presentable.

Battery Box & Base
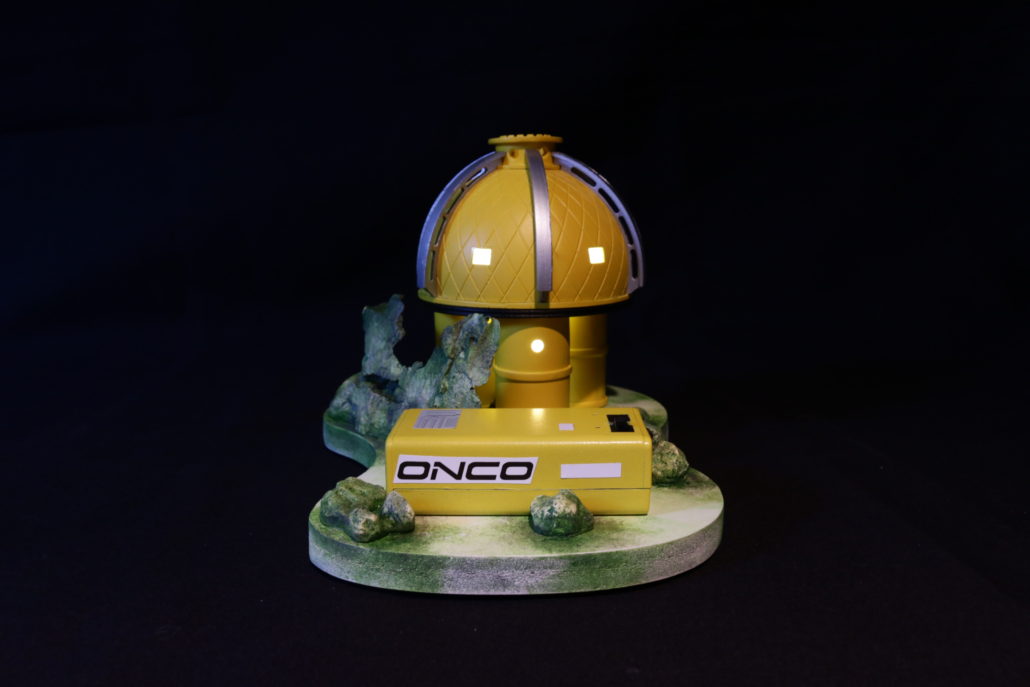
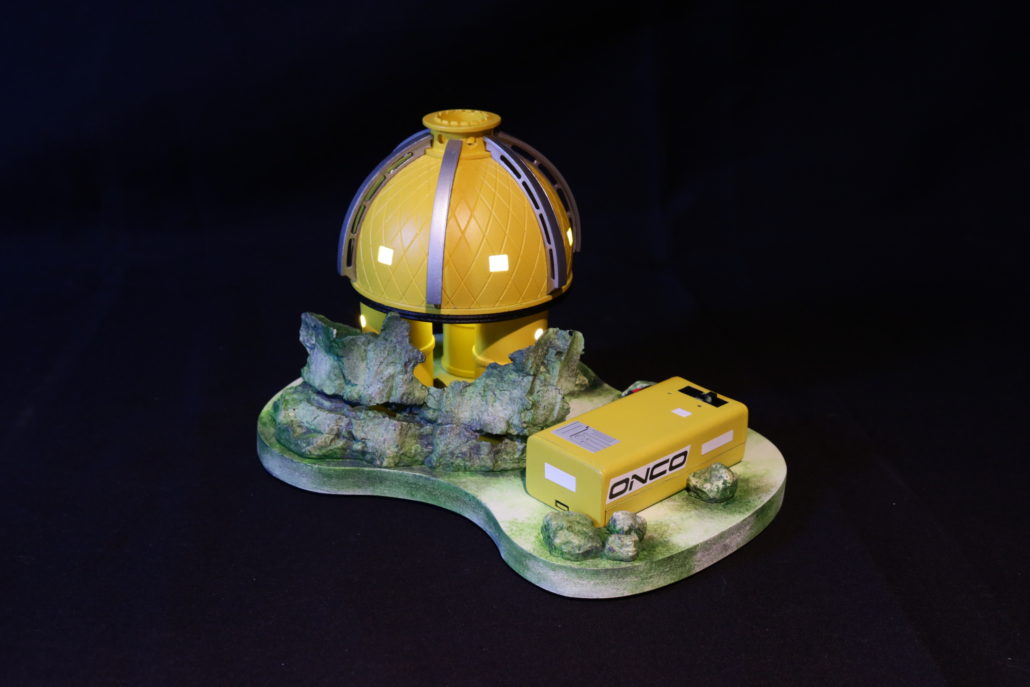
The battery box as a standalone model does not look too bad, but in my opinion was a hideous eyesore on this build. As an easy fix, I painted & dressed up the battery box to look like parts of the lab. First, I taped the on/off switch and used vinyl promoter to get a good surface stick to the box. After, I dressed it with a few window decals & gave it a name, “ONCO”, which was improvised with a company sticker my good friend Fon Davis had given me (sorry buddy, it fit the scale and looked too cool not to utilize). For the final part of the build, I constructed the base with a piece of sintra cut in a smooth shape to lend more of a natural appearance. I then decorated with some homemade resin rocks & cliff wall facade for depth around the model. Finally I finished off the piece with some underwater greens & grays to emulate algae from the sea floor.
Finished